Please be patient while I make this blog pretty and add more content.
Take a look at my Etsy shop to see what items I have for sale:
www.createdbykelli.etsy.com

Sunday, January 20, 2013

Tutorial: Chocolate Bowl

I apologize I don't have any step-by-step pictures (yet) for this one, but it's super easy!

Like the sugar-frosted fruit? See the tutorial here.

What you'll need: 
a small bowl
plastic wrap
a microwaveable bowl
chocolate chips
edible shimmer dust (optional)
decorating brush (optional)

Here's what you do:
1. Line the bowl with plastic wrap. Try to get out all the air between the plastic and the bowl so you can get the right shape.
2. Throw a handful of chocolate chips into a microwaveable bowl. I didn't measure -- if you don't have enough, add more. If you have too much, you get to eat the extra :) Anyway, microwave for 30 seconds, then stir. Continue to microwave in 15-second intervals, stirring in between, until chocolate is smooth and runny.
3. Pour chocolate into plastic-lined bowl. You may tilt the bowl to get the chocolate to spread, or just use a spatula (which is what I did). Allow to cool completely (I stuck mine in the fridge to speed up the process).
4. If you would like, use a decorating brush to apply edible shimmer dust to the outside of the bowl. I did this because I was using it as a cake topper. If you are just making these to serve ice cream in (a super good idea, if you ask me), you really don't need the shimmer dust.

Thursday, January 17, 2013

Activity: Play Dough Letters

My daughter's preschool group, "Little Harvard," started off the year with a literacy lesson. We had large capital letters (2 printed on a landscape 8 1/2"x11") which they traced using play dough. I actually made edible play dough for my daughter to use (see recipe here).


First, you help your child roll small balls of play dough into long strips. Have them choose a letter, and ask them what the letter is. If they get it right say, "You're right! That's an E!" or whatever letter it is. If they get it wrong or don't answer, say "That's an E! Can you say 'E'?" Then you show them how to use the strips to trace the letter. When they are done, reinforce the letter: "Look! You made an E!" It's a lot of fun, and really simple. And you can focus on just a few letters at a time. I'm sure this would work great for numbers and shapes as well.

Note: The edible play dough is a little bit greasy (especially compared to the regular stuff), so I would recommend laminating the letters so they can be reused. These ones got a little gross and just got thrown away. Even if you are using regular play dough, you might want to laminate the letters just to make them a bit more "toddlerproof."

Recipe: Edible Play Dough

We have never purchased Play Dough for our kids. Don't get me wrong, I love the stuff, and I think it's super fun to make things. But then the colors get mixed, or it drops on the ground and picks up hair and lint, or (heaven forbid) your child decides to eat some. So when we needed to bring some to my daughter's toddler school activity for the lesson, I wanted to make edible play dough instead. She had great fun playing with it, and then continued to snack on it for the next few days until it was gone. And now I don't have to worry about storing all those containers either! It's super easy to make, but it does have some common allergens as the main ingredients, so be careful if you will be sharing this or using it around any kids that may be sensitive.

The little frog I sculpted.
To see the letter activity, visit my post about it.

INGREDIENTS:
1 C powderedsugar
1/2 C creamy peanut butter
1/4 C honey

DIRECTIONS
Put all ingredients in a bowl (or container with an airtight lid), and mix until well combined. If it's too soft, add more sugar. Store in an airtight container. That's it!

Wednesday, January 2, 2013

Friday, December 28, 2012

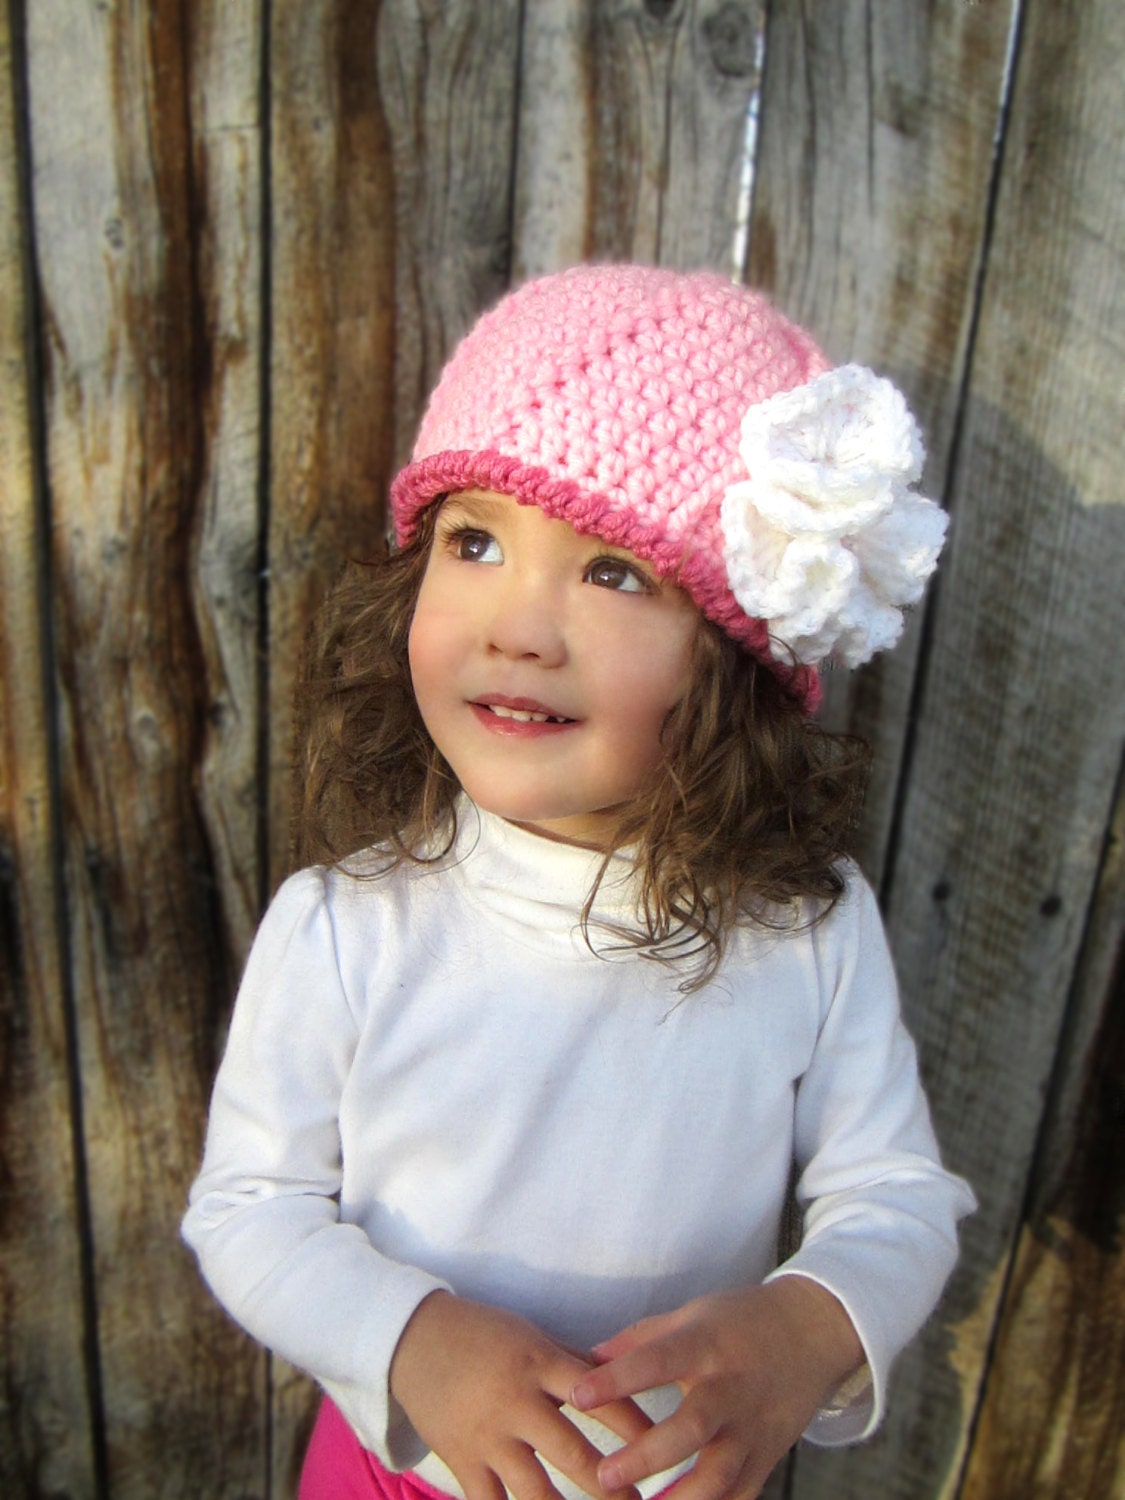
Etsy: Cabled Flower Hat

This cabled hat comes with three flowers (your choice of colors and styles) that easily attach to the button on the hat. Visit my Etsy shop today!

Thursday, December 27, 2012

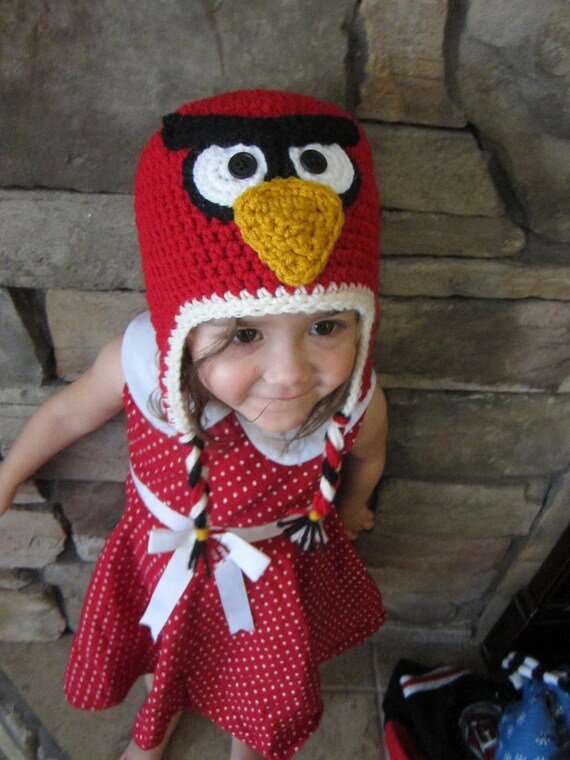
Etsy: Angry Birds Hat

A favorite among children and adult alike, this Angry Birds hat is available in any color you would like. Just visit my Etsy shop!

Angry Birds Hat

Tuesday, October 16, 2012

Recipe: Salisbury Bean Steak

This is a great meatless recipe which can also be made entirely from food storage items!


INGREDIENTS:
2 cans beans (I used 1 can black beans and 1 can kidney beans)
1/8 C water
1/2 C Bisquick
1/8 C dried minced onion
salt and pepper
2T olive oil
2 C brown gravy, prepared from mix

DIRECTIONS:
1. Rinse and drain the beans. Use a food processor or blender to cut up the beans (add the water first). I like to stop while there are still some larger pieces, to give it a bit more texture.
2. Transfer beans to a large bowl and mix in Bisquick and onion. Season to taste. Shape mixture into 6 oval patties. Wrap each individually in plastic wrap and refrigerate 1 hour.
3. Heat oil in a large skillet pan over medium heat. Coat each chilled bean patty in a thin layer of Bisquick. Cook for 2-3 minutes on each side. Pour brown gravy over patties, cover, and simmer for 5 minutes.
4. Serve with mashed potatoes and green beans (we used dehydrated mashed potatoes and canned green beans, which we heated up while the patties were simmering).


We liked the texture of the patties (the first time I tried, they completely fell apart), but thought we should season the beans more. I'll have to update this when we figure out a better spice blend.